 Just Fold Paper
Basic Dart
Paper: US Letter · 8.5 × 11 in
Tools: No scissors or glue
Illustrated + interactive guide
Preparation + 9 numbered steps
Make a narrow body, then open two wings. Start here for the simplest materials list.
8 tutorials · Watch, read, fold.
Browse the tutorials below. Search and filters become available when JavaScript loads.
8 tutorials
Paper: US Letter · 8.5 × 11 in
Tools: No scissors or glue
Illustrated + interactive guide
Preparation + 9 numbered steps
Make a narrow body, then open two wings. Start here for the simplest materials list.

Paper: US Letter · 11 × 8.5 in landscape
Tools: Ruler and pencil · No cuts or glue
Illustrated + interactive guide
Preparation + 33 numbered steps
Collapse a rectangle, shape broad wings and tuck the small side tabs. Flight-flapping is described by the reference, not tested here.
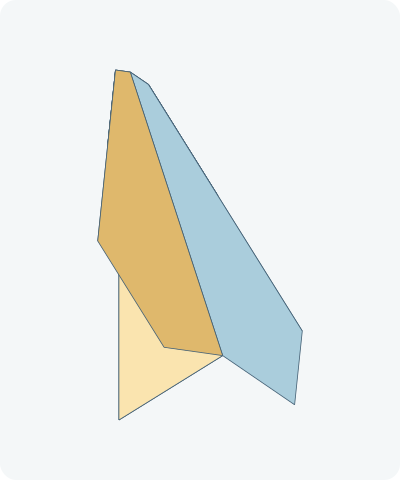
Paper: US Letter · 8.5 × 11 in portrait
Tools: Ruler and pencil · No cuts or glue
Illustrated + interactive guide
Preparation + 17 numbered steps
Secure two corner flaps with a triangular lock, then fold a body and matching broad wings.
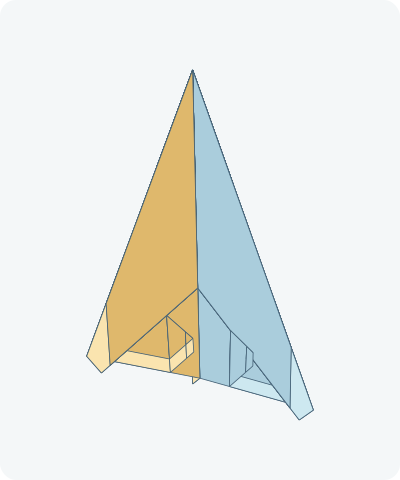
Paper: US Letter · 11 × 8.5 in landscape
Tools: Ruler and pencil · No cuts or glue
Illustrated + interactive guide
Preparation + 23 numbered steps
Fold a layered pointed nose and swept wings, then raise two connected rear flaps.
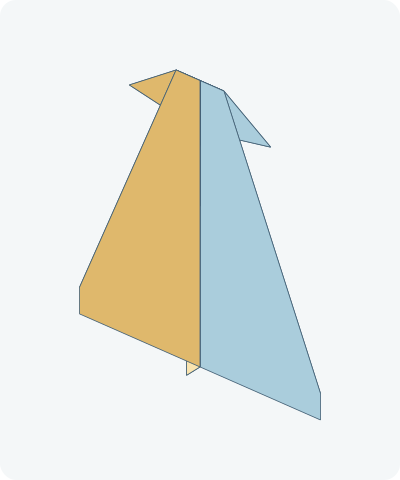
Paper: US Letter · 8.5 × 11 in portrait
Tools: Ruler and pencil · No cuts or glue
Illustrated + interactive guide
Preparation + 29 numbered steps
Reopen a pointed base, shape two small front wings, then fold broad main wings around a narrow body.

Paper: 8 × 11 in blank
Tools: Scissors, ruler and pencil · No glue
Illustrated + interactive guide
Preparation + 7 numbered steps
Draw and cut a connected wing-and-tail outline, then fold the front edge four times.
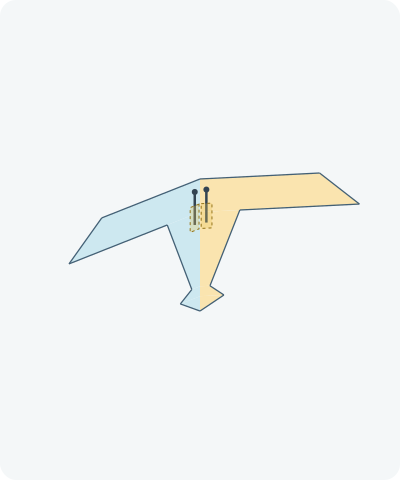
Paper: 8 × 4 in blank
Tools: Scissors, ruler, pencil, 2 pins and tape
Illustrated + interactive guide
Preparation + 6 numbered steps
Cut broad wings and a diamond tail, fold a shallow V, then add weights. Adult pin handling.
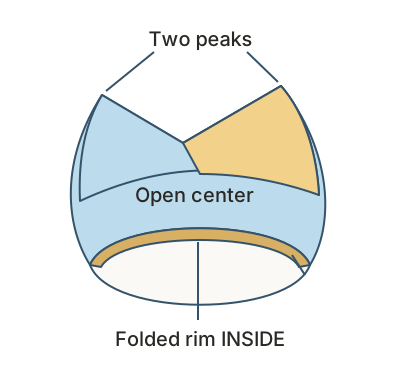
Paper: US Letter · 8.5 × 11 in
Tools: Ruler and pencil · Optional tape · No cutting
Illustrated + interactive guide
Preparation + 6 numbered steps
Fold two offset peaks and an inside rim, then curl and tuck the ends into a ring.
No tutorials match. Try another keyword or clear your search and filters.